
Expert Note: If you need to remove Gemini watermark from an image, the practical decision is simple: crop when the corner is expendable, reconstruct when the dimensions matter. If you want the direct workflow, open Gemini Watermark Remover.
If you searched for how to remove Gemini watermark from an image, this page is the image-specific tutorial version of that workflow. It focuses on the file in front of you: where the mark sits, what detail is behind it, whether the canvas size matters, and how to review the result before download.
Remove Gemini Watermark from an Image
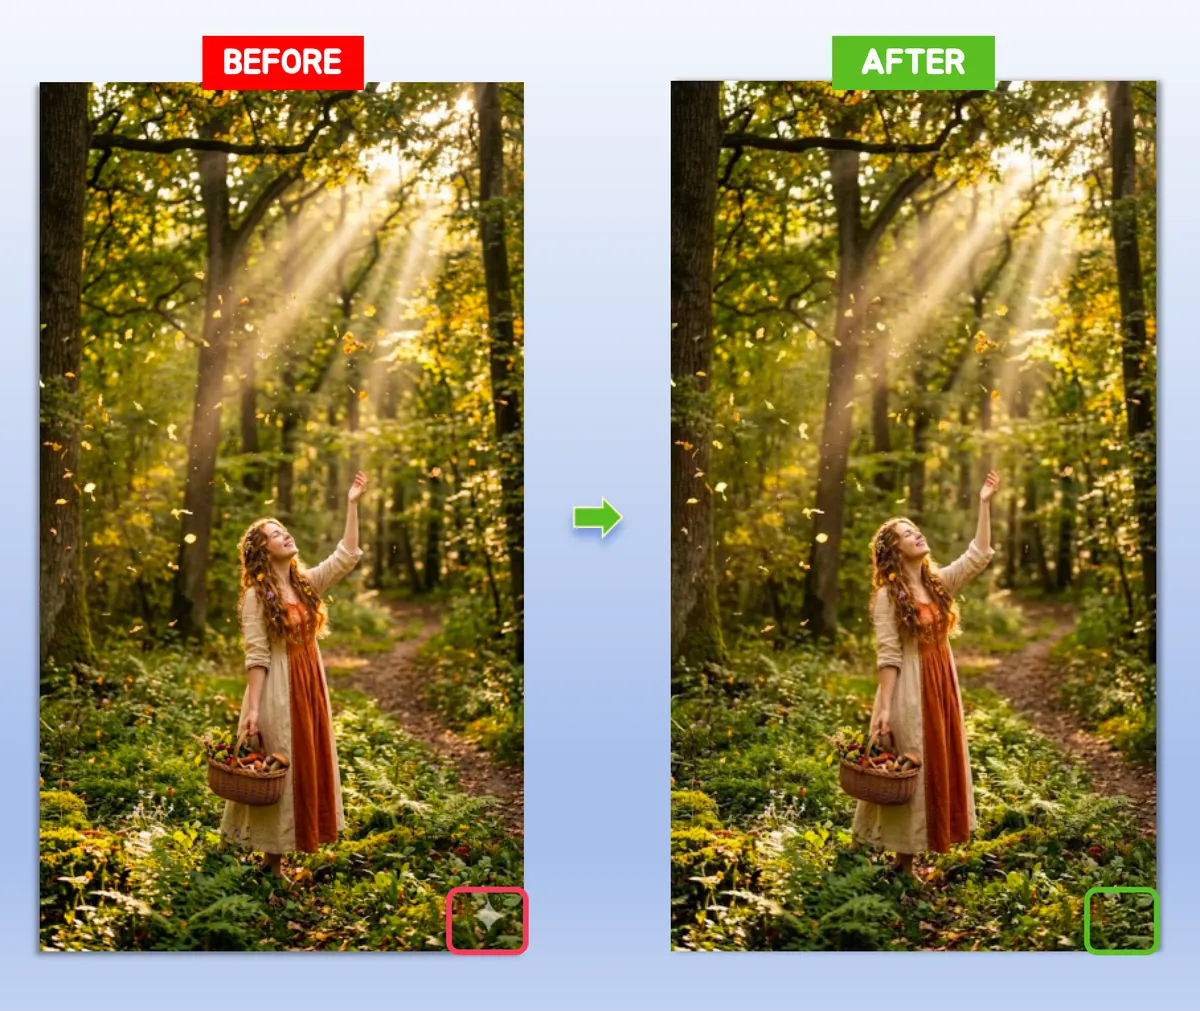
Figure 1: Example of removing Gemini watermark from an exported image
Why Removing Gemini Watermark from an Image Is Tricky
The visible Gemini watermark sits in the lower-right corner, but the real challenge is not deletion. The challenge is keeping the repaired area believable.
Why manual editing often fails
Manual blur, clone, and erase workflows tend to create:
- Flat-looking corners
- Smudged gradients
- Repeated texture patches
Why the image type matters
Removing Gemini watermark from an image is easier on:
- Plain backgrounds
- Soft gradients
- Minimal compositions
It is harder on:
- Faces
- Product edges
- Diagrams
- Dense illustrations
Before You Remove the Gemini Watermark from an Image
Do this quick inspection before choosing a method:
| Check | Why it matters | Best first method |
|---|---|---|
| Plain corner | No important detail behind the mark | Quick Crop |
| Product edge | Shape distortion is easy to notice | AI Smart Removal |
| Text or UI near the mark | Reconstructed letters often look wrong | Crop if possible |
| Exact canvas needed | Slides and templates can break after crop | AI Smart Removal |
| Re-compressed screenshot | Lower detail makes repair harder | Find original export |
This pre-check is what makes the page different from a generic Gemini watermark remover page. The goal is not just to remove a mark; the goal is to keep the image believable after removal.
How to Remove Gemini Watermark from an Image in 3 Steps
Step 1: Upload the original exported image
Start with the original file whenever possible. A screenshot usually gives the cleanup algorithm less useful texture data.
Supported image workflows usually include JPG, PNG, JPEG, and WebP. If you have both a screenshot and the original Gemini export, upload the original export first.
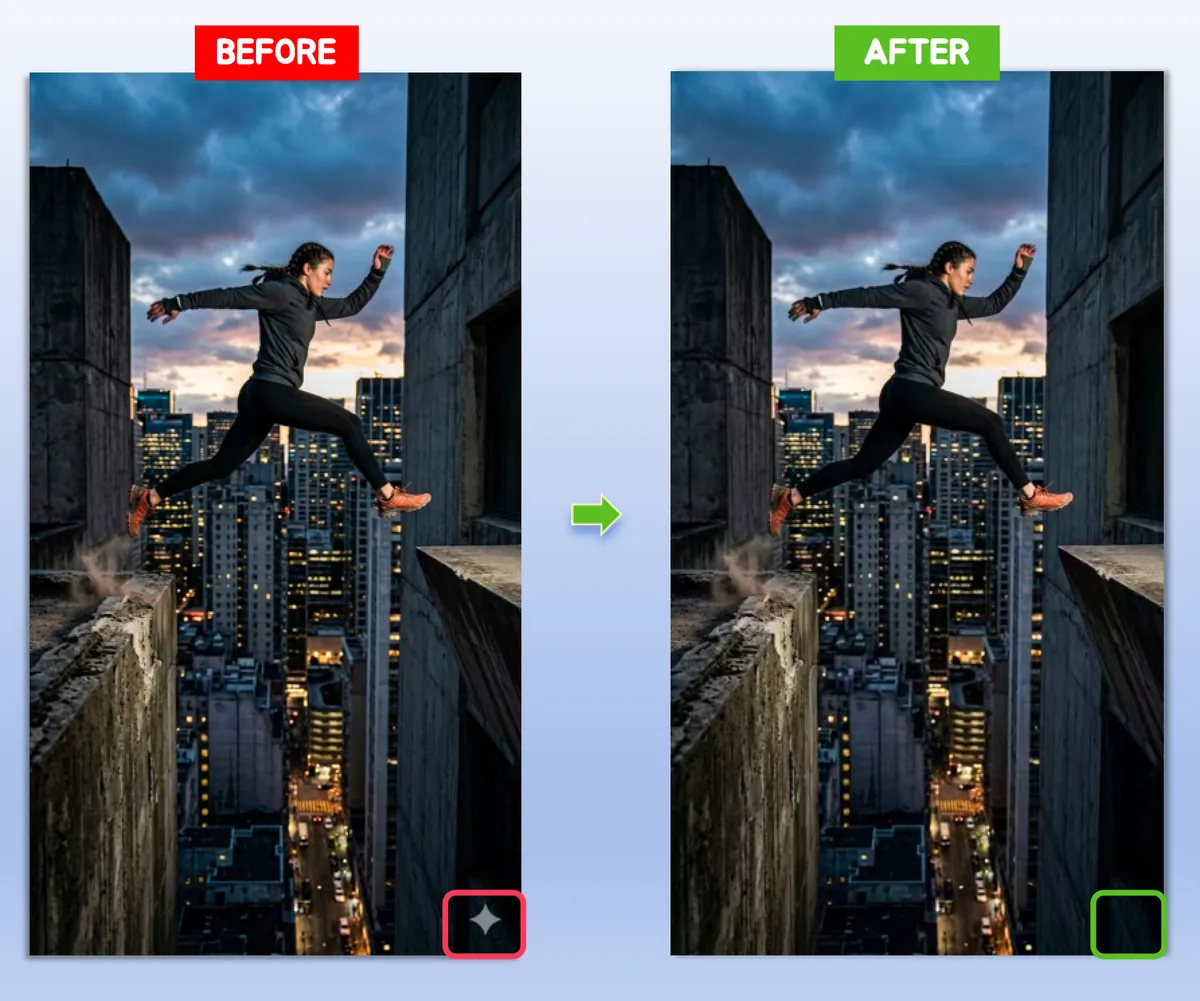
Figure 2: Upload the original Gemini export before processing
Step 2: Pick the method based on the image
There are two practical ways to remove Gemini watermark from an image:
- Quick Crop for plain corners and fast guaranteed cleanup
- AI Smart Removal for images that need original dimensions preserved
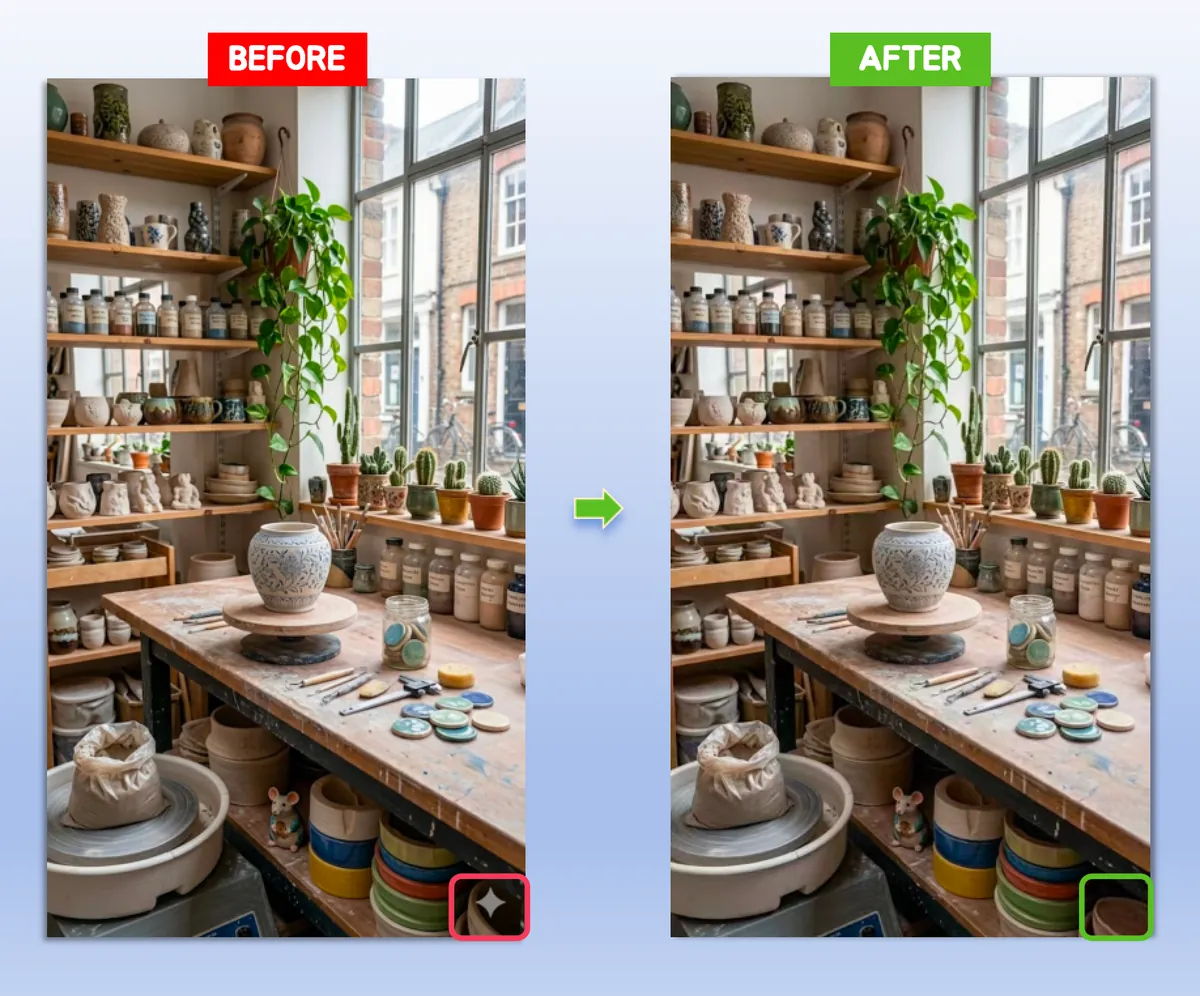
Figure 3: Choose between crop-based and AI-based Gemini image cleanup
Step 3: Review the repaired corner before download
After processing, check:
- The transition above the repaired corner
- The right edge for visible banding
- Nearby patterns, shadows, or product outlines
If the corner still looks off, switch methods and re-run the image.
Which Method Works Best for Different Images?
Social media graphics
Use Quick Crop when exact dimensions do not matter and the corner is visually disposable.
Product images
Use AI Smart Removal when the product outline extends toward the lower-right corner.
Slides and presentations
If the visual sits inside a layout, preserving the original size usually matters more than saving a second of processing time. Use AI Smart Removal first.
Photos with simple backgrounds
Either method can work, but crop is usually the faster and safer choice.
JPG, PNG, and WebP exports
For JPG images, check for compression blocks around the repaired corner. For PNG graphics, watch for hard edges and halo-like transitions. For WebP exports, use the highest-quality original you have because repeated saving can soften the corner before the repair even starts.
Does Gemini leave a watermark? →
Common Problems When You Remove Gemini Watermark from an Image
The corner looks smudged
That usually means the image needed reconstruction, but the repair context was weak or the first pass was too generic.
The image becomes slightly smaller
That is expected with crop-based cleanup. It removes the watermark by excluding the affected edge.
The result is clean but not suitable for layout work
Use AI Smart Removal instead of crop when the original dimensions are part of the deliverable.
The repaired area looks too smooth
This usually means the tool had too little detail to reconstruct. Try the original export, switch to crop, or use a tighter manual review before downloading.
FAQ
How do I remove Gemini watermark from an image without losing quality?
Choose the method based on the image. Crop is cleaner when the corner is expendable. AI Smart is better when the canvas size matters.
What if there is an object near the corner?
Use AI Smart Removal so the object does not get cut off.
Can I do it for free?
Yes. Gemini Watermark Remover is the direct free workflow.
What should I check before download?
Look at the repaired corner, the edge transition, and any structured detail near the original mark.